
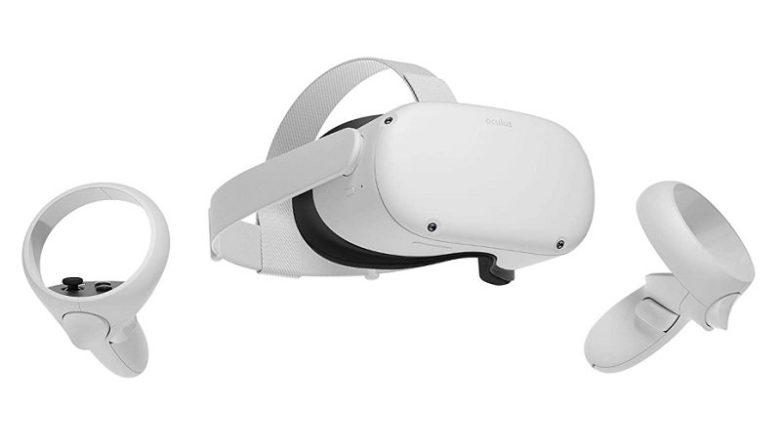
Oculus Quest 2: Gorilla Tag is a fun VR game that combines climbing, swinging, and flying in a multiplayer environment. It is a great way to challenge friends, or yourself, and it has plenty of mods to make it even better. You can install them to improve the game and give it a new look. In this article, you will learn how to download and install Gorilla Tag Mods for Oculus Quest 2.
What is Gorilla Tag?
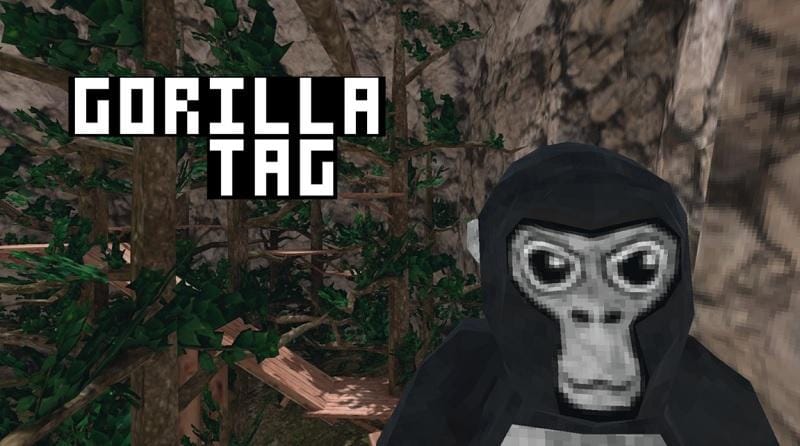
Gorilla Tag is an awesome VR game. This fast-paced game allows you to climb and swing through the trees. While the game doesn’t feature different gorilla skins, you can use a mod to give your gorilla a unique look. The Gorilla Tag mod is available for free on Steam VR and Oculus Quest 2. Getting the mod will make your game look more authentic and add new levels and features to your game.
How to Install Mods for Gorilla Tag for Oculus Quest 2?
There are three ways to install Gorilla Tag Mods for Oculus Quest 2 VR.
- Enable Developer Mode – To install mods for Gorilla Tag, you need to have developer mode enabled on your Oculus VR. To enable developer mode, go to the Oculus website and sign up to be a developer. To become a developer, follow the steps below and create an organization. Once you have developer account, you can start building your mods. Once you have built a few, you’re ready to start adding features to your game.
To turn on Developer Mode:
- From Device Manager, click Device Fleet.
- Click on the headset or group of headsets you want to enable Developer mode for, then click Settings.
- Click the Pencil Icon next to USB Debugging, then select On.
- Review the information in the USB Debugging Warning prompt, then click Accept.
- Click Save.
Keep in mind, you can only have ten headsets in Developer Mode at any time.
- Downloading custom maps – Downloading custom maps for Oculus Quist 2 is not as hard as it sounds. In fact, it’s quite easy! There are plenty of tutorials online. Here, we’ll go over the basic steps of downloading custom maps for Oculus Quest 2. If you’re using a PCVR headset, you can use the Monke Map Loader to install additional maps.
- Installing Quest Patcher- Now, you will need to download the Gorilla Tag app from the official SteamVR website or Oculus.com. Then, you can patch your Gorilla Tag app with Quest Patcher. A Quest Patcher is a GUI based mod installer for any il2cpp unity app on the Oculus Quest that runs on Windows, Linux or macOS. You can download the Quest Patcher from github.com . Download the files from the site and run it as administrator and install quest patcher on your device. Now, when prompted, simply allow permission to Quest Patcher. Once the patching process is complete, you can then browse for available maps and install them on your Gorilla Tag headset.
After installing the Gorilla Tag, you’ll need to sign in as a developer. To sign in, you’ll need a PC with developer mode enabled. After that, you’ll need a USBC cable and a company that you can join.
Once you’re in developer mode, you can install and try out mods. However, be aware that Oculus Quest 2 is no longer moddable due to illegal mod distribution.