
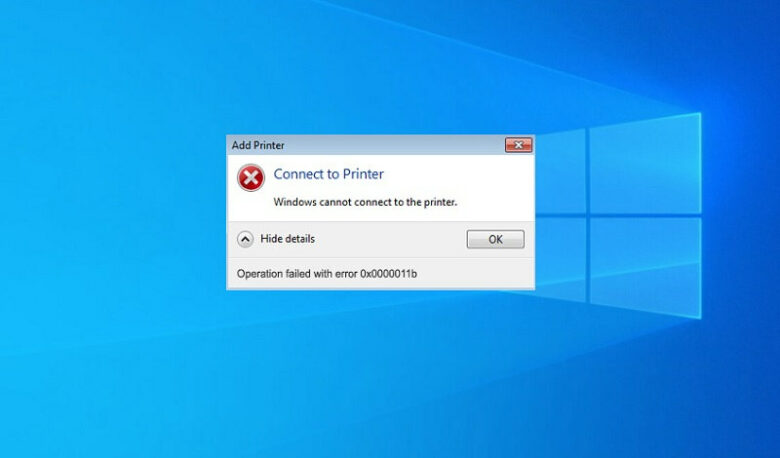
The “Windows cannot connect to the printer” error with the error code 0x0000011b typically occurs when you’re trying to connect to a network printer from a Windows computer. This error indicates that there is an issue with the printer driver or with the printer itself.
The possible causes for this error include:
- Incorrect printer driver: If the printer driver is incompatible or outdated, it can result in this error.
- Network connectivity issues: If there are problems with the network connection between your computer and the printer, an error may occur.
- Printer spooler service: If the printer spooler service is not running or is experiencing issues, it can prevent the printer from being connected.
How to Fix windows cannot connect to the printer error 0x0000011b error?
To fix the “Windows cannot connect to the printer error 0x0000011b, or Windows cannot connect to the printer access is denied error you can follow these step-by-step instructions:
Step 1: Check the printer connectivity
- Ensure that the printer is turned on and properly connected to the network.
- Verify that your computer is also connected to the same network as the printer.
- If using a wireless connection, make sure the printer’s Wi-Fi is enabled and the signal is strong.
Step 2: Restart the printer and computer
- Turn off the printer and your computer.
- Wait for a few minutes, then turn them back on.
- Once both devices have restarted, attempt to connect to the printer again.
Step 3: Update or reinstall printer drivers
- Press the Windows key + R to open the Run dialog box.
- Type “devmgmt.msc” and press Enter to open the Device Manager.
- Expand the “Print queues” category to display the installed printers.
- Right-click on the problematic printer and select “Update driver” or “Uninstall device” if the driver is already installed.
- If updating, choose the option to search automatically for updated driver software.
- If uninstalling, follow the prompts and then reinstall the printer driver using the manufacturer’s website or the provided driver disc.
Step 4: Restart the printer spooler service
- Press the Windows key + R to open the Run dialog box.
- Type “services.msc” and press Enter to open the Services window.
- Scroll down and locate the “Print Spooler” service.
- Right-click on “Print Spooler” and select “Restart.”
- Once the service restarts, try connecting to the printer again.
Step 5: Add the printer manually
- Press the Windows key + R to open the Run dialog box.
- Type “control printers” and press Enter to open the Printers & Scanners settings.
- Click on “Add a printer or scanner.”
- Windows will search for available printers. If your printer is detected, follow the on-screen instructions to install it.
- If the printer is not detected, select the option “The printer that I want isn’t listed.”
- Choose the option “Add a printer using a TCP/IP address or hostname” and click Next.
- Enter the IP address or hostname of the printer and follow the prompts to install it.
Solution 6: Clear the print queue
- Open the Control Panel on your computer.
- Go to “Devices and Printers” or “Printers & Scanners.”
- Right-click on the problematic printer and select “See what’s printing.”
- In the print queue window, click on “Printer” in the top menu.
- Select “Cancel All Documents” and confirm the action.
- Restart your computer and try connecting to the printer again.
Solution 7: Disable firewall or antivirus temporarily
- Open the settings for your firewall or antivirus software.
- Temporarily disable the firewall or antivirus protection.
- Attempt to connect to the printer again.
- If the error is resolved, add the printer as an exception in the firewall or antivirus settings to allow future connections.
Solution 8: Check printer permissions
- Open the Control Panel on your computer.
- Go to “Devices and Printers” or “Printers & Scanners.”
- Right-click on the problematic printer and select “Printer Properties” or “Properties.”
- Navigate to the “Security” or “Permissions” tab.
- Ensure that your user account has the necessary permissions to access the printer.
- If your account is not listed, click on “Add” and add your account with full control.
- Click “Apply” and “OK” to save the changes.
- Try connecting to the printer again.
Solution 9: Disable SNMP for the printer
- Open the Control Panel on your computer.
- Go to “Devices and Printers” or “Printers & Scanners.”
- Right-click on the problematic printer and select “Printer Properties” or “Properties.”
- Navigate to the “Ports” or “Advanced” tab.
- Locate the port that the printer is using and select it.
- Click on “Configure Port” or “Port Settings.”
- Uncheck the option “SNMP Status Enabled” if it is checked.
- Click “Apply” and “OK” to save the changes.
- Try connecting to the printer again.
By following these steps, you should be able to resolve the “Windows cannot connect to the printer” error 0x0000011b. Remember to ensure that the printer driver is up to date, the printer is properly connected to the network, and the printer spooler service is running correctly.
These additional solutions should provide you with more options to troubleshoot and resolve the “Windows cannot connect to the printer” error 0x0000011b.